
New Student Class Registration: Register
Step 1: Register yourself in first-semester courses
Now that you have received your Class Registration email, you are ready to register. It is recommended to use a desktop or laptop computer for registration.
Registration Acknowledgement and Responsibility Statement
By registering for classes, I acknowledge that timely graduation and continued eligibility for financial aid (including Cal Grant, if applicable) require appropriate unit enrollment as outlined by the University. I understand that I am responsible for knowing and complying with all add, drop, and withdrawal deadlines; monitoring my course schedule through LancerLink; and communicating with my Student Success Coach, Admissions Counselor, and Financial Aid as required. I acknowledge that registration may be administratively adjusted by the University when warranted. I understand that failure to officially drop or withdraw from courses or the University may result in academic penalties, loss or reduction of financial aid, and financial charges. I agree to fulfill all financial obligations to California Baptist University in accordance with University policies and deadlines, and I understand that access to grades, transcripts, and diplomas may be restricted until my account is paid in full. By proceeding, I confirm that I have read, understand, and agree to the policies and degree requirements outlined in the University Catalog.
Let's get started!
Identifying Fall 2026 Courses
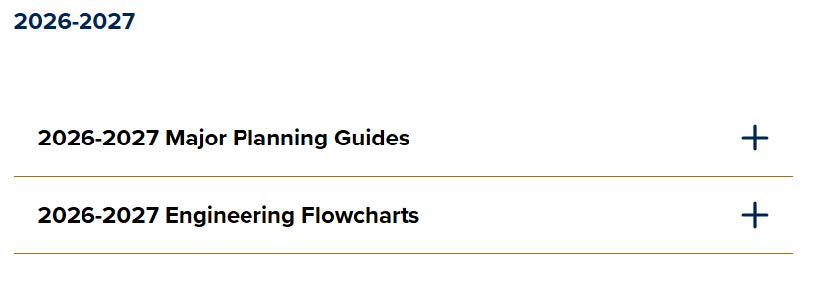
On the major planning guide page, click on your catalog year. Your catalog year is the academic year you entered CBU.
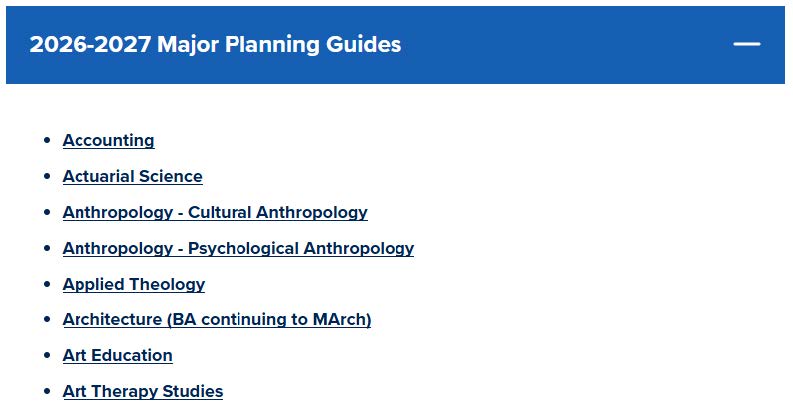
Click your major from the list of majors.
This is the major planning guide. The first tab, labeled “major” shows all the required courses for your declared major.
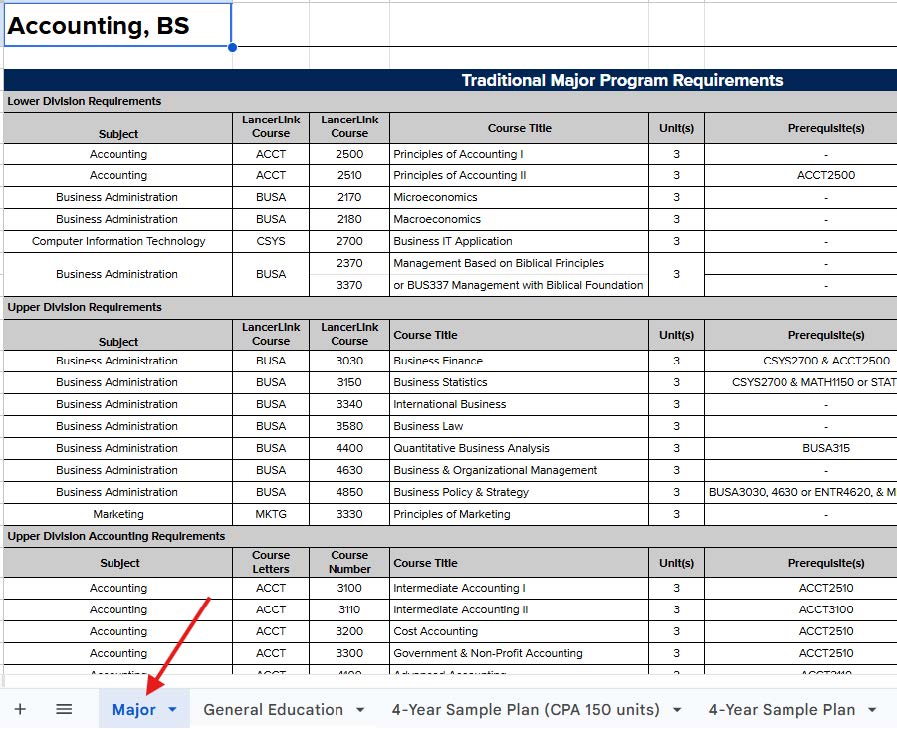
The course subject, course code, and course title appear first.
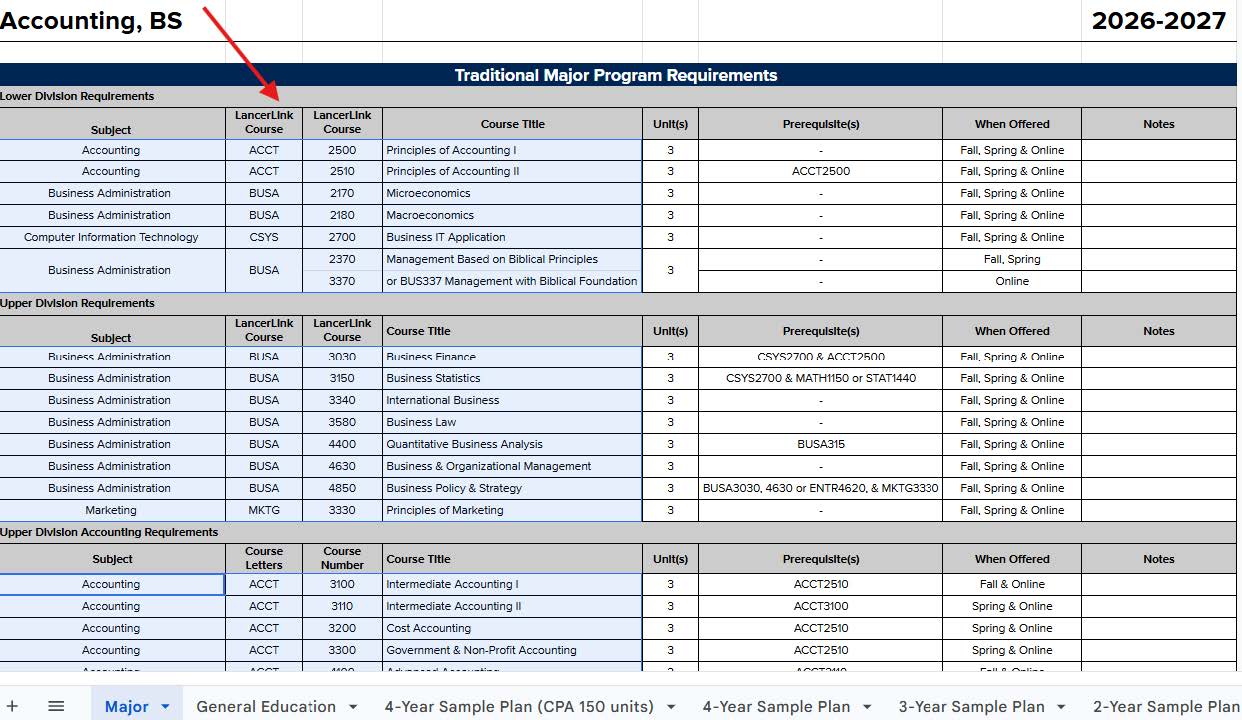
The prerequisite courses also appear. These are courses that must be taken before or at the same time as the course listed.
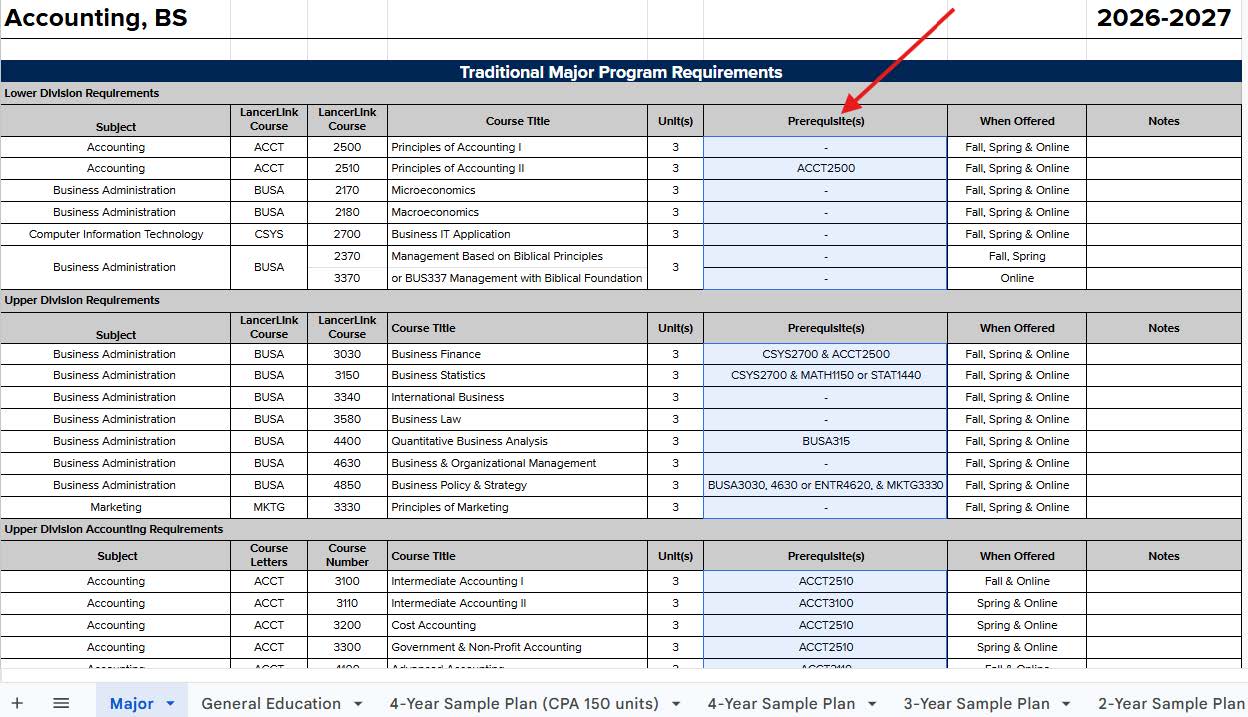
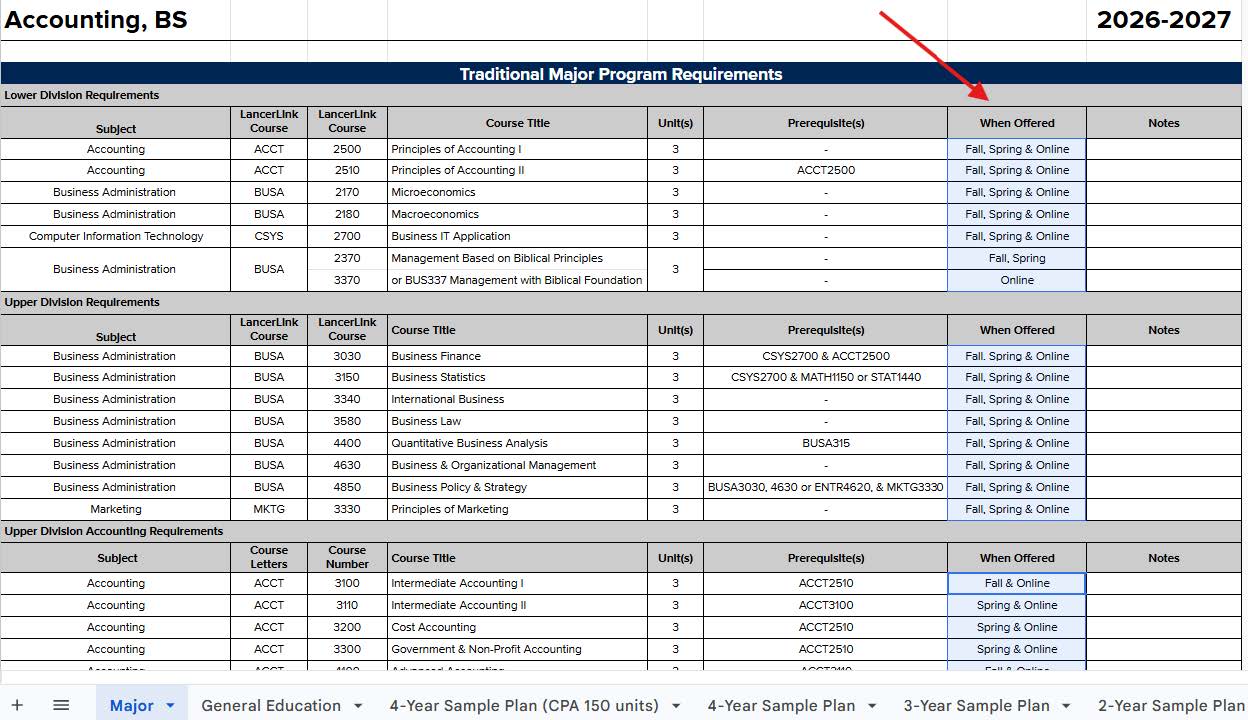
The “when offered” column will show the semesters the course is scheduled to be offered.
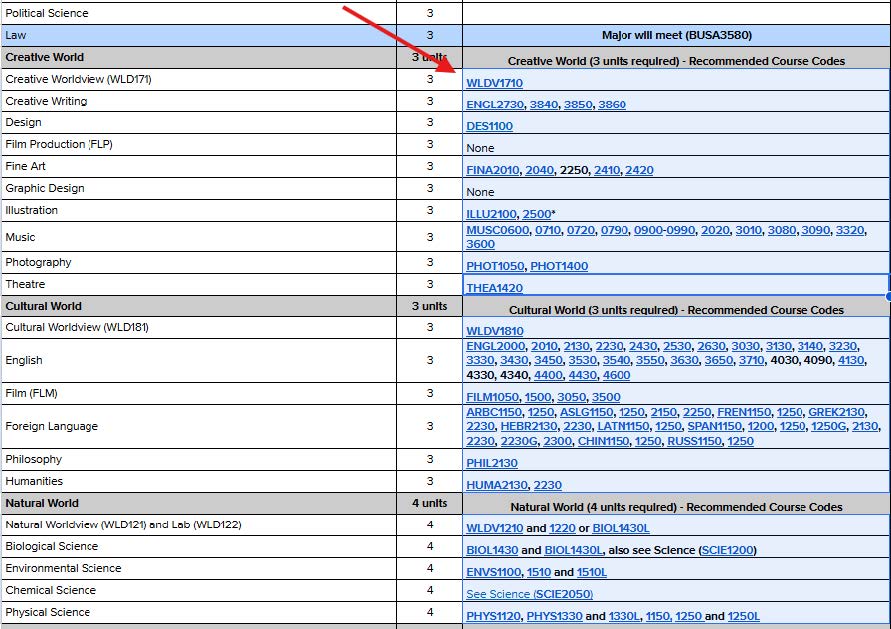
Next lets look at the General Education tab.
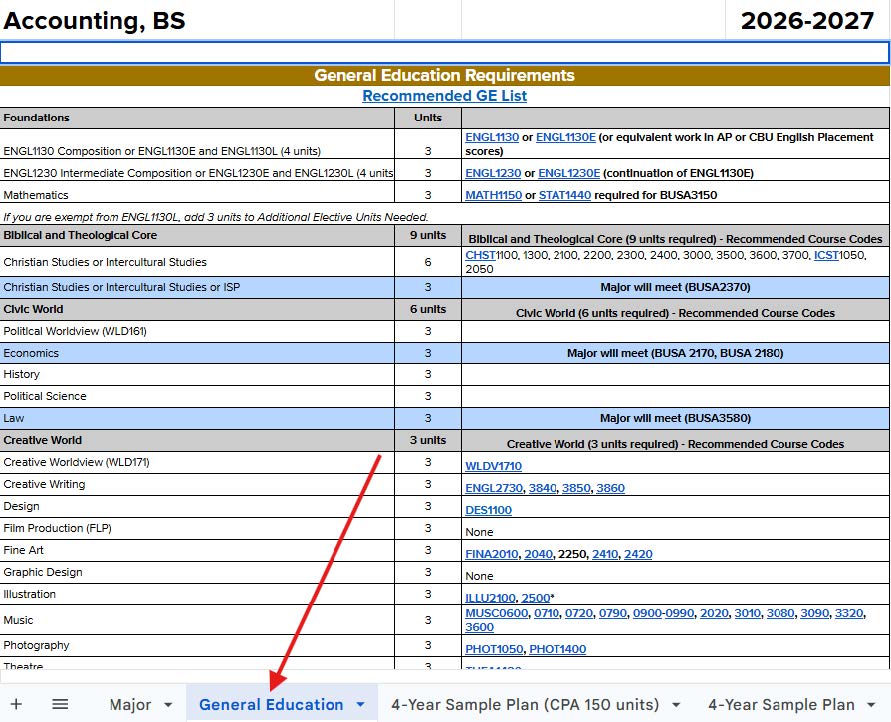
Within the General Education, there are various categories (called Worlds) that must be completed in order to graduate. Each category requires 3-9 units. Each category has various subjects to choose from in order to complete the necessary units for each category.
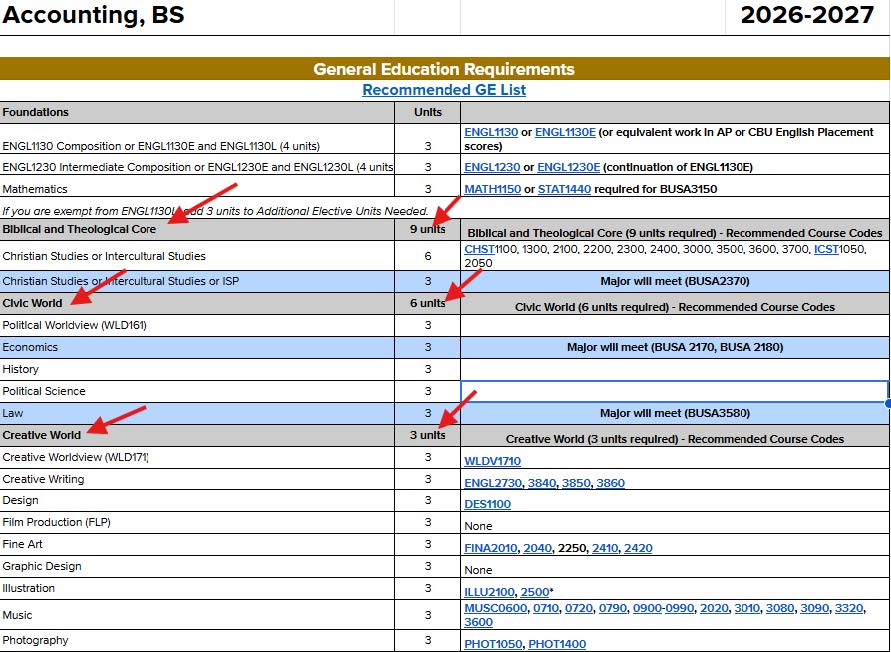
The recommended courses are listed in the far right column.
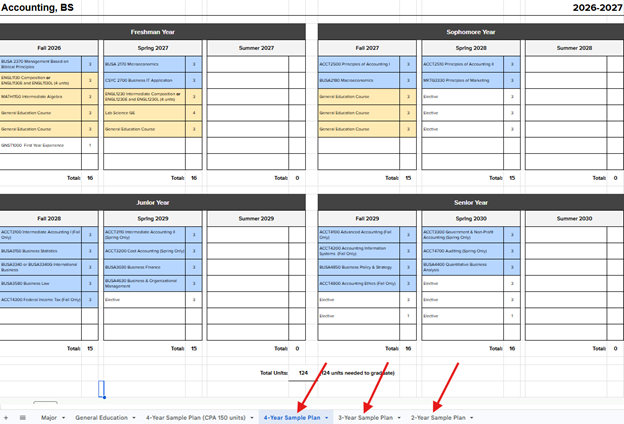
The sample plans are suggested semester-by-semester guides on recommended courses.
Be sure to account for any AP/IB/CLEP scores as well as college coursework. If you have not already done so, it is imperative that you send in your official scores from College Board or your official transcripts directly from your previous institution. Click Here to view the Transfer Agreement.
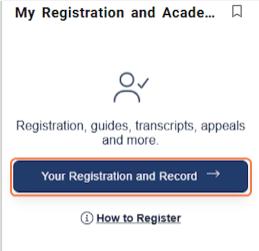
1. Go to LancerLink and click on Your Registration and Record
This is found on the "My Registration and Academic Record" card

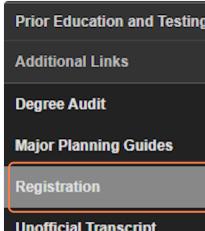
2. Select Degree Audit

3. Understanding basic information from your Degree Audit
When your Degree Audit appears, you will first notice your ID, name and program of
study.
You will also see basic degree progress information.
Scrolling down, you will find a high-level summary of your progress to degree.
4. Understanding your Major, General Education and Elective requirements
Below the summary will be your undergraduate major, or graduate program of study,
along with all requirements.
** If you are an undergraduate student you will find your general education requirements.
Here, you will want to pay attention to any general education (GE) areas met through completion of your major requirements. These are clearly noted on your Major Planning Guide.

Below this, you will find elective units.
NOTE: We strongly recommend you focus primarily on major/program and general education requirements first before selective courses for elective units.
Too many elective units can have a negative effect on financial aid eligibility depending on your required major units of study.

5. Observe preregistered courses
* Double majors, with one degree objective (e.g. BA or BS), will see both programs
on one screen.* Double degrees students (e.g. BA and BS) will toggle between programs, using the
"Degree" pull-down at the top.* Explore if a Graduate program may be a better fit, once completing your Undergraduate Degree.
How to Register for Courses
To add chapel, log onto LancerLink and click “Your Registration and Record”
Then click “Registration”
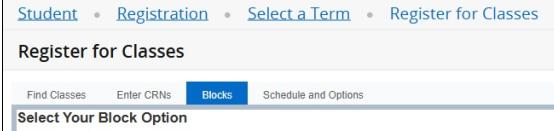
Click “Register for classes”

Then select the desired term
Click on the “Blocks” tab”
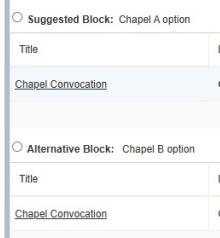
Click the circle of the desired Chapel section
Click “Submit”
Click on the “Blocks” tab”
Click the circle of the desired Chapel section
Click “Submit”
To avoid Administrative Schedule Adjustments:
- Enroll in ENGL1130 or ENGL1130E/L then ENGL1230 or ENGL1230E/L every semester until successfully completing the sequence.
- Ensure that you are enrolled in Chapel (GNST0500) if you are registered for 7 or more units.
- There is a limit of one online course per session (half of semester).
- Freshmen are required to enroll in First Year Experience, GNST1000
- At least 15-16 units per semester is recommended to make steady progress toward degree completion.
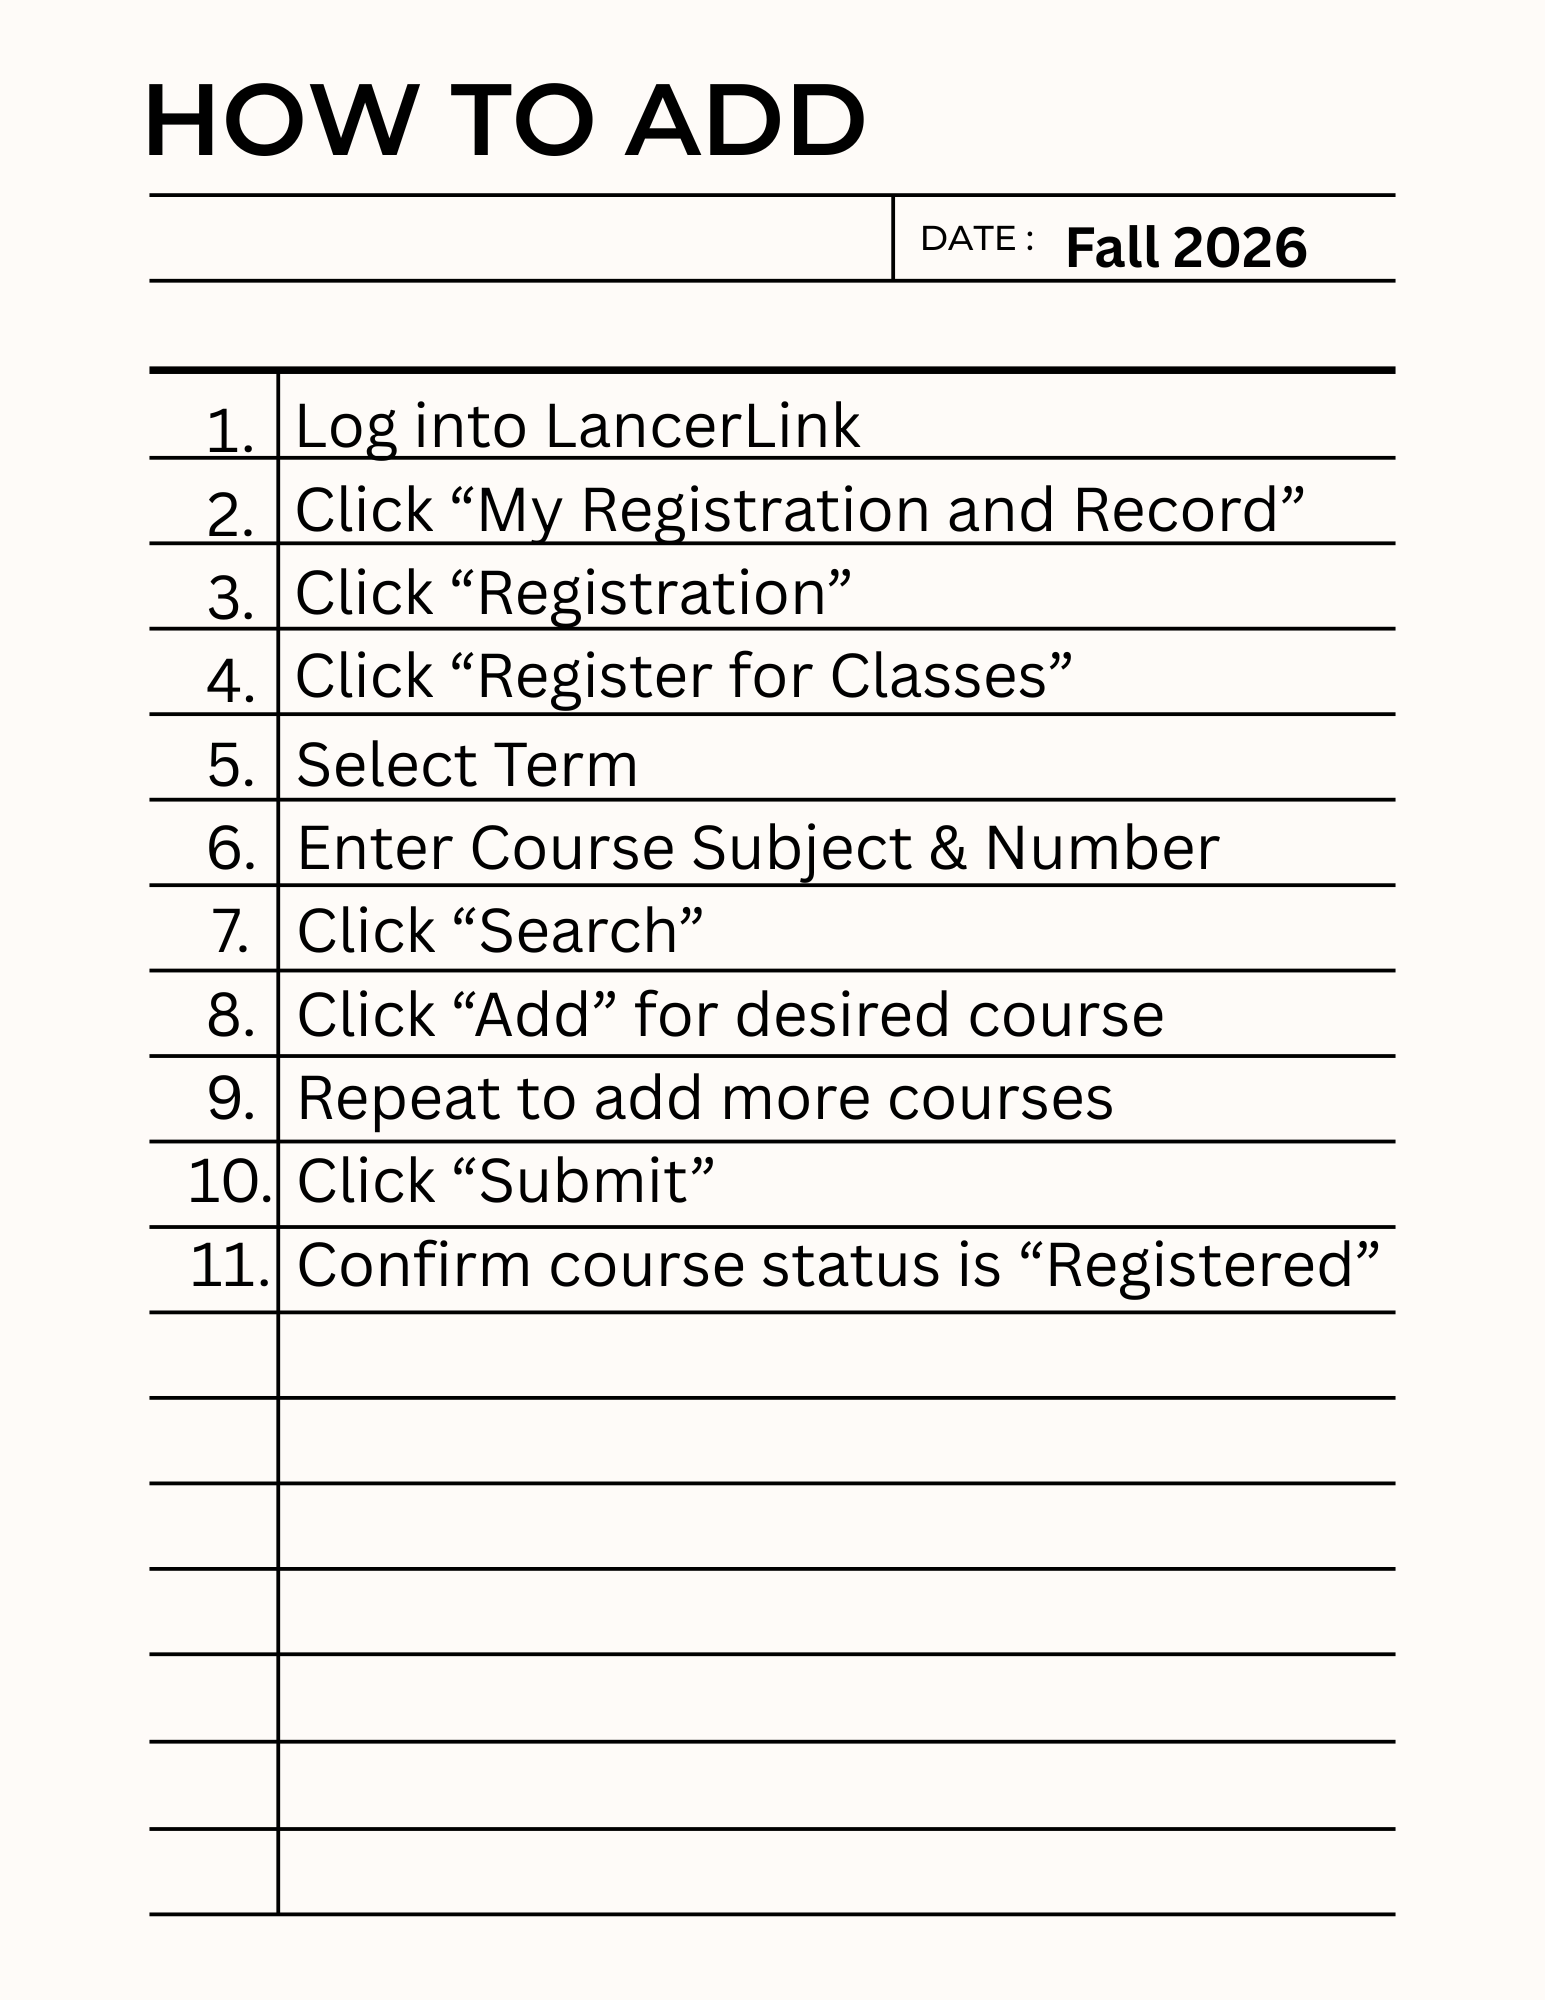
1. Go to LancerLink and click on Your Registration and Record
This is in the "My Registration and Academic Record" card

2. Select Registration

3. Click on Register for Classes…

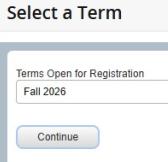
4. Select a Term
Select the term for which you are registering and then click "Continue"

5. Enter course subject and course number, then click "Search"

6. Click "Add" for the desired course section

7. Confirm desired course's status is "Pending"

8. Click Submit
If you would like to add multiple classes at the same time, click "Search Again" and repeat steps 5-7.

9. Confirm desired course's status is "Registered"

Congratulations - You have completed your registration!

1. Go to LancerLink and click on Your Registration and Record
This is in the "My Registration and Academic Record" card

2. Click on Registration

3. Click on Register for Classes…

4. Select a Term
Select a term and then click "Continue"

5. Locate desired course to drop and change Action to "Drop Course from Schedule with Refund"

6. Click on Submit

7. Confirmed desired course to drop is deleted

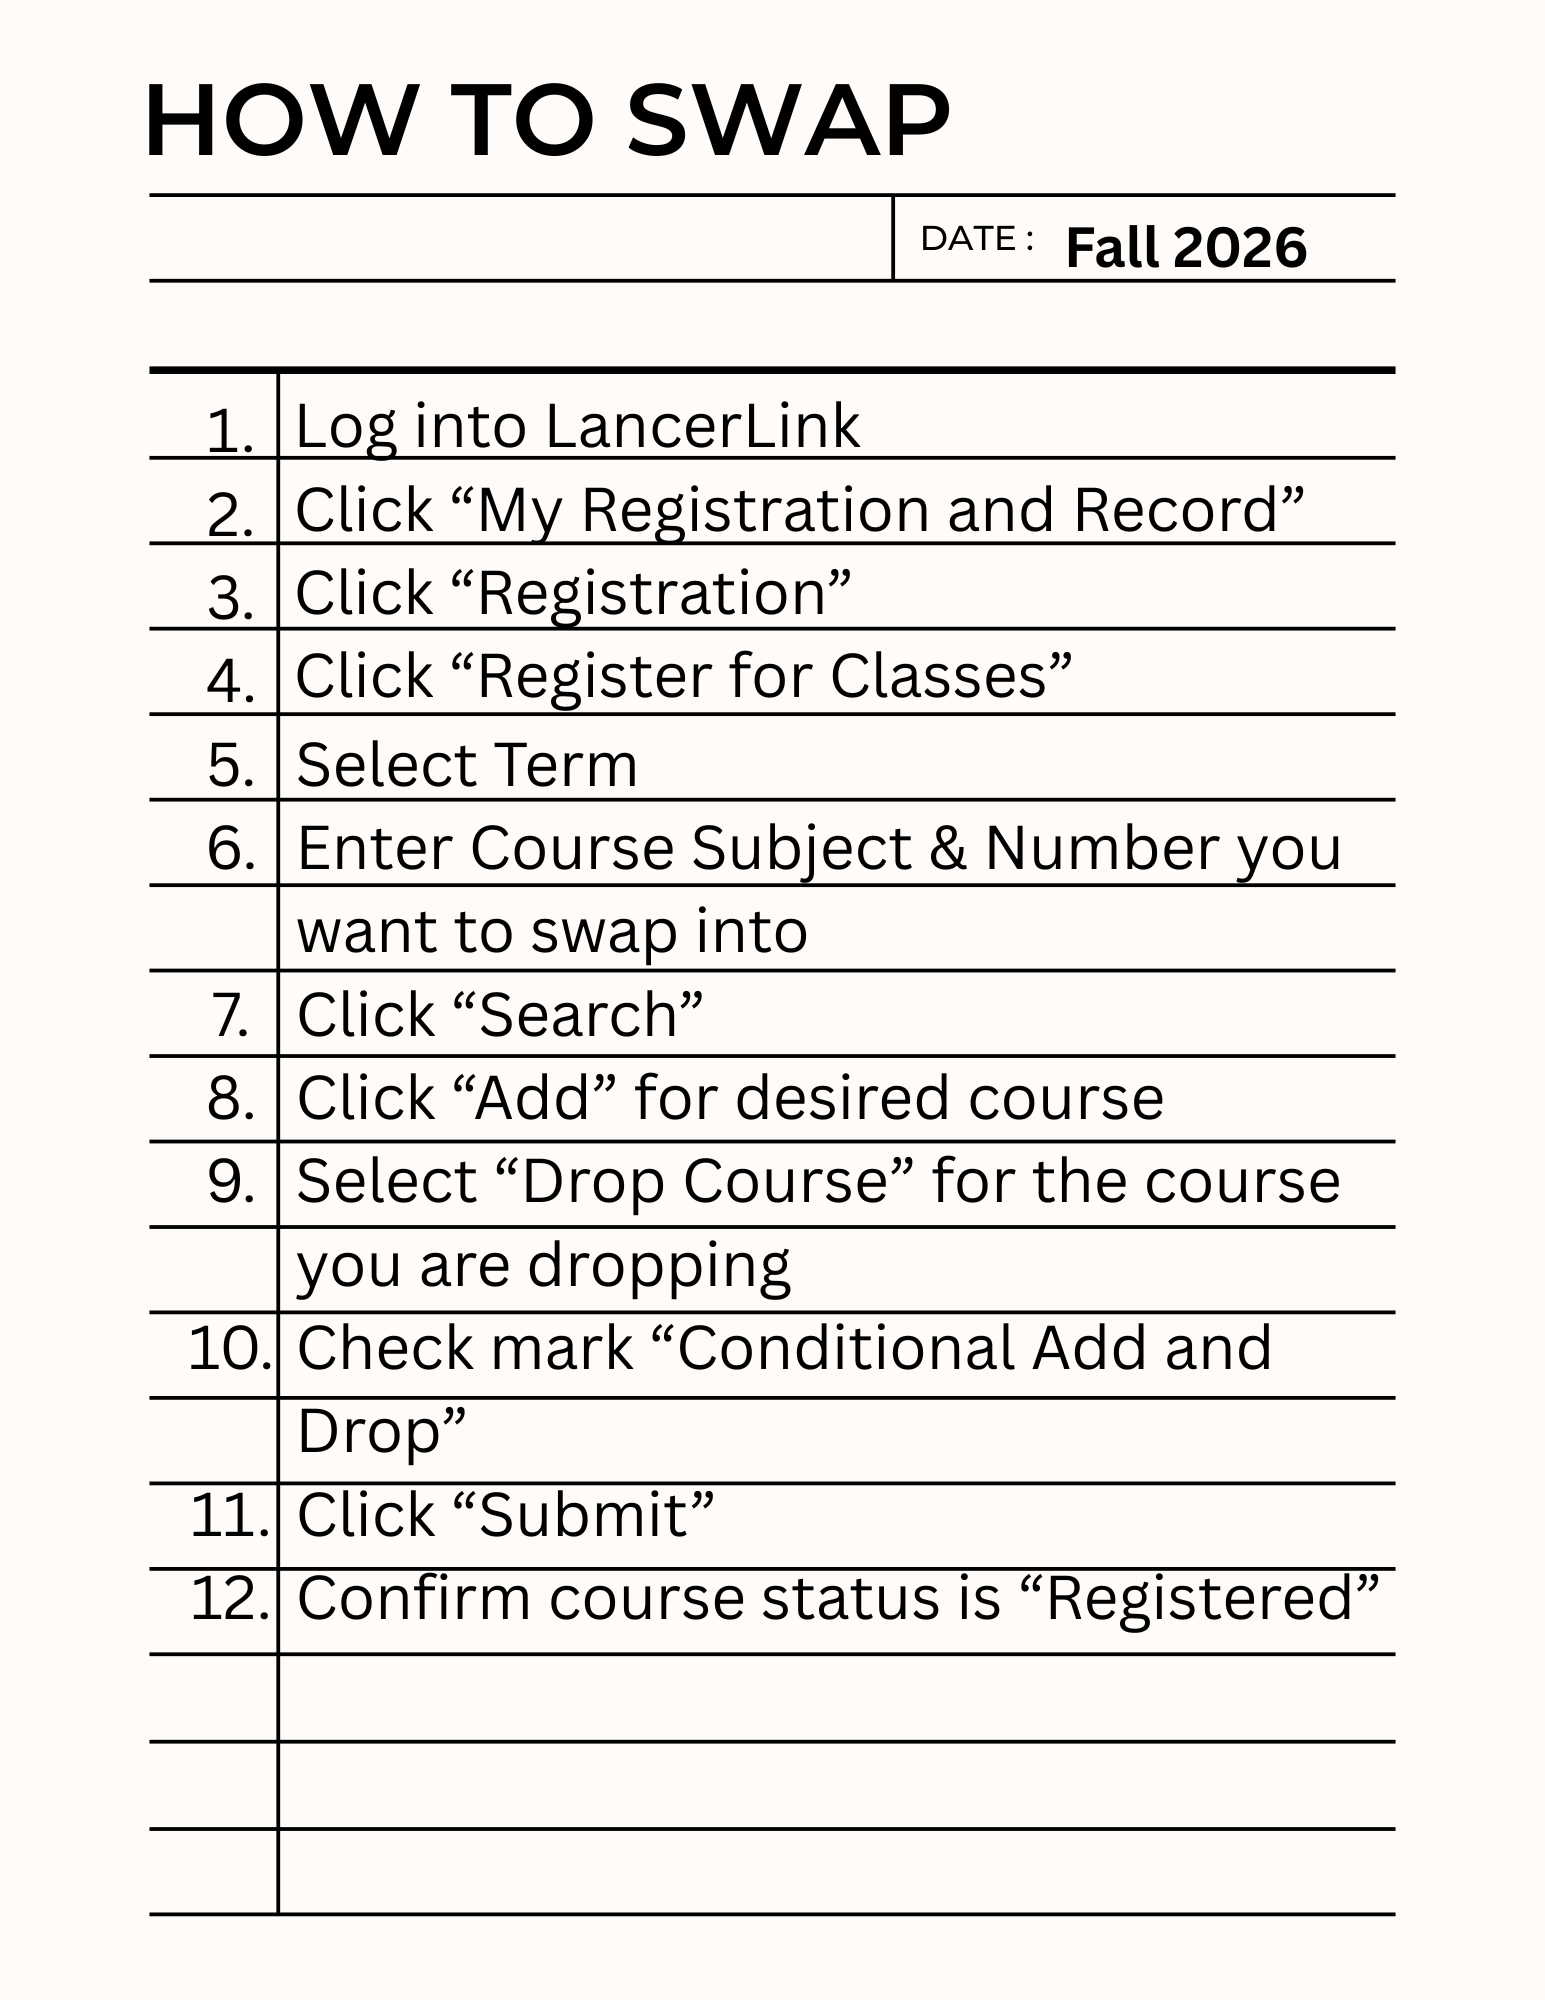
1. Enter course subject and course number, then click "Search"

2. Click "Add" for the desired course section

3. Confirm desired course's status is "Pending"

4. Change the Status of the desired course to drop, to "Drop Course from Schedule with Refund"

5. Check Conditional Add and Drop (to ensure the course is not dropped if the desired course to be added is not able to be added.)
This is to ensure the course to be dropped is not dropped if the desired course to be added is not able to be added. This will prevent you from losing a seat in a course if there is an issue with adding your desired course.

6. Click Submit

7. Confirm desired course's status is "Registered"

Resolve Registration Errors
If you receive an error message stating:
- "Prerequisite and Test Score error", you have attempted to add a course for which you have not yet met the pre-requisite for.
- "Field of Study Restriction - Major", you have attempted to add a course that requires you to be declared as a specific major.
- "Time Conflict", you have attempted to add a course that conflicts with another course.
For each of these errors, you will need to remove the course changing the Action to
"Remove" and then clicking submit.
See how you can challenge your English or math placements.
Let's get registered!
> Start by logging into LancerLink.
Use the steps above to identify and register for your fall semester courses. When
you meet with your Student Success Coach this week, they will help review your schedule,
make any necessary adjustments, and assist you in completing your Spring 2027 registration.
Next Step
Your enrollment at CBU is an easy two-step process.
Please proceed to the next step to view details of meeting with your Student Success
Coach.